The Real Value of Video Captions for Your Content
4 May 2026
Contents

If you’ve been sitting on your ecom dreams, waiting for a sign… this is it.
Welcome to 2026 — the golden age of dropshipping. Whether you’re looking to escape your 9–5, start a side hustle, or turn your passion into profit, building a Shopify store has never been easier. In fact, we’re going to show you how to set up a pro-looking Shopify store in just 15 minutes—and we mean it.
This step-by-step tutorial is for beginner and intermediate dropshippers who want a no-fluff walkthrough of launching a clean, conversion-ready store, loaded with winning products and ready to roll.
Let’s get started.
Head over to Shopify.com and hit that big “Start Free Trial” button. No credit card, no fuss. You’ve got a 3-day free trial to test the waters.
Once you’ve created your account and popped in your basic details, boom—you’re inside the Shopify dashboard, aka your mission control.
On the left-hand side, you’ll see all your tools: products, orders, customers, themes, marketing, and more.
But before we make this store a revenue magnet, we need to give it a facelift.
Your theme is the first impression customers get when they land on your store. Shopify gives you access to both free and paid themes, and honestly? The free ones are pretty slick for getting started.
Navigate to Online Store > Themes and hit “Visit Theme Store.”
Here are some of our faves (no, you don’t need to spend a dime):
Click “Try Theme,” then “Publish,” and just like that—you’ve got a foundation. Congrats, you now officially own a store that doesn’t look like it was made in 2009.
Let’s spice things up.
Click “Customize” under your live theme to launch the Shopify Theme Editor. This is where the magic happens—no coding required.
Remember to click Save often. Trust us—there’s nothing worse than losing your progress because you forgot to click that little blue button.
You don’t need to be a UX designer to create a scroll-stopping layout. Shopify’s editor lets you drag, drop, and preview everything live.
Want to feature products? Add a Featured Collection block.
Want to show categories? Add a Collection List.
You can also add:
Make your homepage feel like a real brand, not a dropshipping dump bin.
And yes, you can absolutely start without products. But the next part is where we turn this store into a money machine.
A store without products is just a pretty shell. Let’s fill yours with winning, high-converting, ready-to-sell gear using Sell The Trend — your new dropshipping sidekick.
Here’s how it works:
Boom. Now you’re connected. Time to find your next $100,000 product.
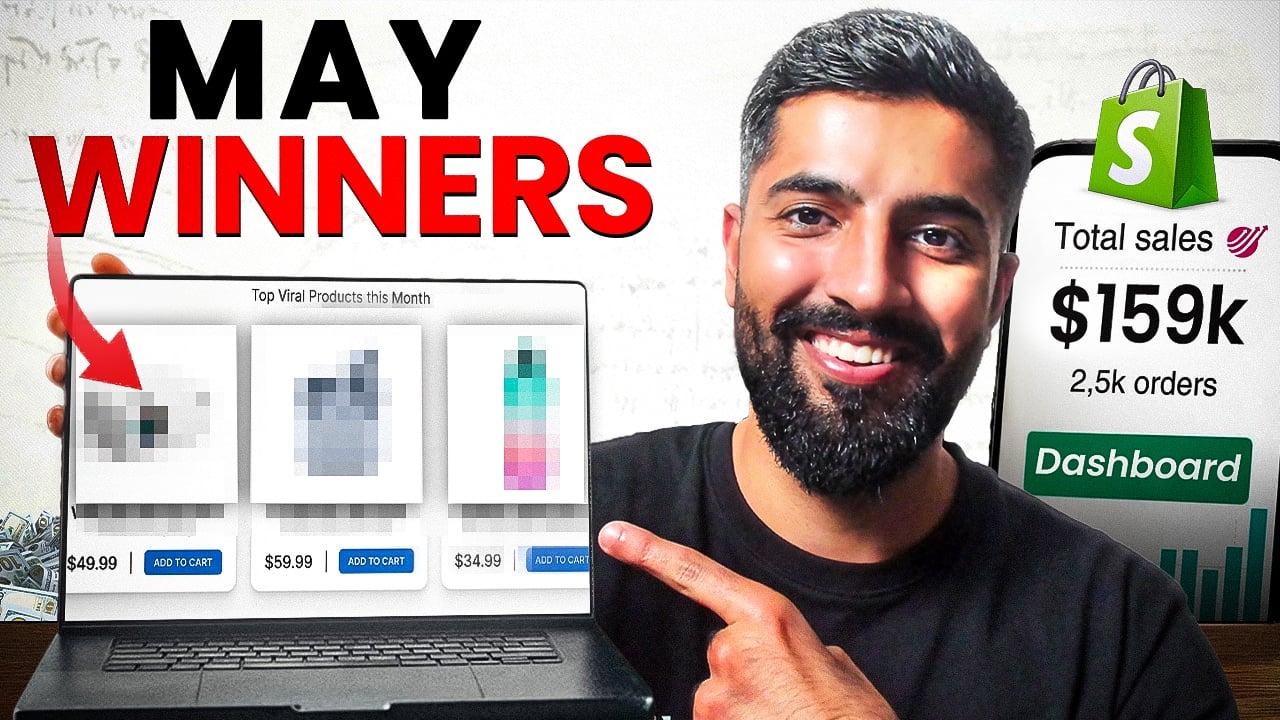
Inside Sell The Trend’s dashboard, you’ll see a smorgasbord of product discovery tools. But let’s focus on the Hand-Picked Winners section if you’re just starting out.
This is where experienced ecom pros have already done the heavy lifting for you. These products are manually vetted, trending, and ready to sell—with full descriptions, profit margins, and marketing assets included.
Click on a product that catches your eye—maybe something seasonal or evergreen.
Let’s say you choose the Radio Cozy product:
And yes, all this comes standard with your Sell The Trend account.
Once you’ve found your gem, hit “Push To Store.” Select your store, confirm the details (title, images, pricing), and that’s it. The product gets sent straight to your Shopify store—ready for sales.
Everything is done for you:
Seriously. It doesn’t get easier than this.
Try it now using the Push To Store tool .
Okay, you’ve got products in your store. That’s huge. But now you need to make it easy for customers to find what they want fast — and that’s where collections come in.
Think of collections like aisles in a store. Instead of throwing everything into one digital heap, you’re giving your customers a smooth browsing experience. And let’s be real — nobody wants to shop in chaos.
Let’s say you name this one Top Picks (or “Holiday Must-Haves,” “Gifts for Her,” or whatever fits your niche). Manually add the products you want featured here.
You can even upload a banner image to make it pop. If you don’t have a good one? Grab a free, high-quality visual from Pexels or create a branded graphic using Canva.
Now hit Save, and voilà — your new collection is live.
A good homepage isn’t just pretty—it sells. Let’s make sure yours pulls its weight.
To feature your new collection:
Now your customers can discover those products immediately — no digging around required.
Pro Tip: Make sure your collection names are clear and keyword-rich. Avoid cryptic labels like “Favorites” or “Bundle Zone.” Go for “Trending Pet Products” or “Home Office Essentials” — phrases your customers are already searching for.
So many new dropshippers skip this — but don’t. Platforms like Facebook, TikTok, and Instagram will flag or ban your ads if your store doesn’t have the essential legal pages in place.
Here’s what you need:
Shopify makes this stupid-easy.
Now your store is ready for business. No red flags, no warnings, just clean compliance.
Your legal pages don’t do much if nobody can find them. Let’s make sure your customers—and ad reviewers—can actually access them.
Go to:
Create two menus:
Click “Add Menu Item,” name it (e.g., “Privacy Policy”), and link it to the right page. Do this for each legal doc.
Your site now has pro-level navigation. And most importantly, it’s ad-platform-friendly.
You’ve already got product descriptions, titles, and images—thanks to Sell The Trend’s 1-Click Push To Store tool.
But you want to take it a step further?
Use the AI Brand Builder to optimize your product pages for SEO and conversions.
With this tool, you can:
No need to be a copywriter — the AI does it for you.
Don’t stop at just one or two products. The more relevant products you add, the better your chances of capturing sales.
With Sell The Trend’s NEXUS Product Research engine, you can:
Every product comes with:
This is how you fill your store strategically, not randomly.
Want to launch ads like a pro without reinventing the wheel? Enter: the Facebook Ads Explorer.
This tool lets you:
So before you burn money testing ads, see what’s already working.
It’s like having a backstage pass to the dropshipping elite.
Here’s the thing: manually processing orders is a massive time suck. Not to mention—one wrong click, and you’re refunding angry customers.
The solution? Sell The Trend’s 1-Click Order Fulfillment System.
Once you make a sale:
No emails. No spreadsheets. No stress.
Plus, inventory sync means you always know what’s in stock. That means no more selling out-of-stock items by accident.
This is hands-free dropshipping. Just the way it should be.
Videos sell. But not everyone’s a filmmaker. That’s why you’ll love the Sell The Trend Video Ad Creator.
Use it to:
Organic or paid ads, TikTok or Instagram—this tool makes you look like you hired an agency.
You’ve set up your Shopify store. You’ve found winning products with real demand. You’ve organized collections, created legal pages, built your menus, and optimized everything from SEO to ad creatives.
You’re not just playing store owner—you are one.
But there are still a few extra steps to maximize your chances of success:
Go to Settings > Payments in Shopify and activate Shopify Payments, PayPal, or whichever method suits your business. This is how you get paid. And getting paid is kind of the point.
Before you launch, test your checkout process. Use Shopify’s test payment method or a $1 product to make sure the entire customer experience flows perfectly.
A huge chunk of e-commerce traffic comes from mobile. Preview your store on mobile devices to make sure it’s snappy, clean, and easy to navigate.
Connect your store to Google Analytics and Facebook Pixel (if you’re running ads). You can even use Sell The Trend’s Shopify Integration to monitor performance across the board and manage everything from one place.
Let’s take a hot second to appreciate just how much you’ve accomplished:
And you did it all without writing code, hiring a developer, or spending weeks stuck in decision paralysis.
Look, Shopify gives you the storefront. But Sell The Trend gives you the engine that drives success:
And the best part?
You can try Sell The Trend free for 14 days. That’s a full week to test the waters, add real products, and launch your business the right way.
Most people talk about starting a business.
You just did.
With Shopify’s simplicity and Sell The Trend’s automation, you’ve got everything you need to succeed—even if you’re starting from scratch, working a full-time job, or doing this from your dorm room.
Dropshipping isn’t about being perfect. It’s about launching fast, learning fast, and iterating as you grow.
So if you’ve ever felt overwhelmed, underprepared, or just plain confused by ecommerce… this guide was for you.
And if you’re ready to take things to the next level?
Don’t wait for the “right time.” The right time is right now.
✅ Sign up for Shopify
✅ Start your free trial of Sell The Trend
✅ Launch your first winning product
✅ Hit “Publish” on your store
…and watch what happens.
Because in 2026, there’s no better time to launch your own ecommerce brand. And no better platform combo than Shopify + Sell The Trend to get you there.
Lisa is an eCommerce and digital marketing specialist with over 6 years of experience helping online businesses grow through data-driven strategy and hands-on execution.
She has worked across dropshipping and direct-to-consumer channels, focusing on product research and performance marketing. At Sell The Trend, she creates practical, research-backed content to help merchants make confident decisions.