The Complete Shopify Dropshipping Step by Step Guide in 2026
Contents
Starting a Shopify dropshipping store in 2026 is one of the easiest ways to launch an online business without holding inventory. Shopify gives you all the tools to build, manage, and grow a store quickly, even if you’re new to e-commerce.
Interested? Let’s learn how to start a successful Shopify dropshipping business and find winning products using tools like Sell The Trend.
Key Takeaways
What Is Shopify Dropshipping?

Shopify dropshipping is a business model where you sell products online without keeping inventory. When a customer places an order, you purchase the item from a third-party supplier, like AliExpress or CJdropshipping, who ships it directly to the buyer. Your profit comes from the difference between the supplier’s price and your retail price.
This model eliminates the need for warehousing or bulk purchasing, making it one of the most affordable ways to start an e-commerce business. Shopify simplifies the process with built-in tools for product listings, payment gateways, and order tracking, while dropshipping apps like Sell The Trend handle supplier connections and fulfillment automation. For stores requiring custom features or advanced integrations, Shopify ecommerce development services can tailor your platform to match specific business needs.
If you’re new to online selling, Shopify dropshipping offers a low-risk entry point to build and test your store before scaling. Now, let’s look at why so many entrepreneurs choose to start their dropshipping business on Shopify.
Why Start Dropshipping on Shopify?

Shopify is the best platform for dropshipping because it combines ease of use, powerful automation tools, and seamless integrations that help you build and scale your store quickly. You can launch a professional online business without coding skills or large upfront costs.
Here’s why entrepreneurs choose Shopify for dropshipping:
- Beginner-friendly setup: Create and customize your store in minutes using drag-and-drop themes.
- All-in-one platform: Manage products, payments, marketing, and analytics from a single dashboard.
- Dropshipping app integrations: Use tools like Sell The Trend to find winning products and automate order fulfillment.
- Trusted payment options: Shopify supports credit cards, PayPal, Apple Pay, and more for global sales.
- Scalable plans: Start small and upgrade as your dropshipping business grows.
- Reliable performance: Fast loading speeds and 24/7 support keep your store running smoothly.
With these advantages, Shopify makes it easy to start, run, and grow a profitable dropshipping business from day one. Next, let’s look at how to find the best products to sell.
How to Set Up a Shopify Dropshipping Store?
Setting up a Shopify dropshipping store is simple, even if you’re new to e-commerce. Shopify guides you through each step, from signing up and choosing a plan to designing your storefront and connecting dropshipping apps. In just a few hours, you can launch a fully functional online store ready to start selling.
Creating a Shopify Account

Step #1 — Sign up for Shopify
- Go to Shopify’s website to create your account. Enter your email to start the free trial and skip the unnecessary questions during the signup process.
- Select a location for your business. Make sure to enter accurate information; otherwise, you may encounter payment issues, shipping issues, tax and duty obligations, language and currency problems, and you will no longer be able to avail of Shopify benefits.
- Check your email for a confirmation link from Shopify, click it, and return to the dashboard.
- Enter a strong password that you can easily remember.
Step #2 —Accessing Your Dashboard

- Upon creating your account, you’ll access the Shopify dashboard and be able to utilize various features such as product listing, store design, analytics, and marketing.
- First, head to the settings and update your store’s name from the default “My Store.” Choose a name that reflects your business goals.
- The next step is to set up your store’s currency. Choose USD if you’re selling globally, Euro for Europe, or GBP for the UK.

Step #3 — Choose a Plan

- Shopify offers four different plans, with the basic one being sufficient for most dropshippers. Each plan has different transaction fees, so pick one that fits your requirements.
- You can choose monthly or yearly billing, but for the first 3 months, you’ll only pay $1 per month. This seems highly appealing if you’re on a tight budget.
- After selecting a plan, add your billing details (company or personal). You can cancel anytime. Subscribe to activate your Shopify store.

Designing Your Online Store
With all the beautiful Shopify dropshipping stores in your competition, it’s easy to get intimidated by their amazing looks.
Even if you’re not the most tech-savvy person around, you can still design an amazing e-commerce store with a few drag-and-drop options.
Shopify features dozens of free and paid themes for you to choose from. Simply go to the main dashboard and click “Customize your store”.

If you’re just starting and don’t want to spend much on a fancy dropshipping store, you can try one of the free themes like “The Dawn,” which is more than enough to create a decent-looking store. However, if you have a specific idea in mind, you can explore Shopify’s theme library, where you’ll find some of the best Shopify themes designed to enhance user experience and boost conversions.

After you click the customize option, you’ll be taken to the Shopify store editor, where you can add a logo and customize various pages, including the homepage, product page, and collection page.

Customization can be done in desktop, mobile, or full-screen views to ensure it looks good on all devices. Choose a responsive, mobile-friendly theme to boost your conversion rates.

The layout consists of header, footer, and content areas. Start by adding elements such as a logo, banner, and announcement bar. You can use these to highlight key offers such as FREE SHIPPING. Don’t feel overwhelmed at the thought of designing a logo. With a few software programs like Canva, you can design amazing logos for free. After building the homepage, save your work and preview the site on both mobile and desktop modes.
You can also leverage ChatGPT to craft attention-grabbing hero sections that captivate your visitors instantly. It handles the writing and idea generation, ensuring your brand makes a memorable first impression. Once the design is complete, the next step involves setting up your store’s domain, shipping options, and payment methods.
Domain Purchase and Setup

Begin by brainstorming a unique name for your dropshipping business. Visit websites like Lean Domain Search to find available domain names that align with your brand’s vision.
After picking a suitable domain name, you can purchase it from domain providers like HostGator, BlueHost, NameCheap, and Hostinger.
A branded domain (like yourstore.com) is crucial for a polished, trustworthy image of your dropshipping store. After buying the domain, you will verify ownership through an email link, ensuring the domain is properly connected to your store.
Domain providers also provide a professional email for your Shopify dropshipping store, like [email protected], to boost customer credibility in customer communication.
Shipping Settings

Setting up shipping zones and rates is essential for dropshipping businesses. By clearly defining these zones, you can set competitive shipping rates that appeal to your target audience. Go to Settings > Shipping and Delivery to set up shipping zones and rates, and manage other shipping options for your e-commerce store.
Offering free worldwide shipping is a smart way to draw customers and encourage more purchases. If your suppliers, like AliExpress, already provide free shipping, you can incorporate those costs into your product prices to keep things simple.
Payment Setup
Setting up payment methods is important for a smooth checkout experience. Shopify Payments allows customers to pay using different options, like credit cards, Google Pay, and Apple Pay, which adds convenience.
However, it’s available only in certain regions, so that might limit some businesses.
Customers widely trust PayPal, and adding it alongside Shopify Payments in your online store can help you reach a broader audience while improving the shopping experience for many.
Legal Policies

Shopify makes it super-easy to create essential store policies like refunds, privacy, and terms of service pages. Having these policies is crucial for building credibility and ensuring transparency with customers.
To create policies for your dropshipping business, navigate to Settings > Policies in your Shopify dashboard.
You have two options: You can customize Shopify’s pre-made templates with your store’s specific details, such as contact information and email address. Alternatively, you can manually write your own policies from scratch.
If a product arrives damaged, ask the customer to send photos and then contact the supplier to request a replacement.
Many suppliers will send a new product at no extra cost, which helps simplify the process and avoid dealing with returns or exchanges.
Importing and Optimizing Products
Importing products and adding them to your store can be tricky. By automating competitive pricing and downloading images directly from the original fulfillment store to your Shopify store, you can save a lot of time compared to doing it all manually.
Sell The Trend offers a streamlined solution for importing products and managing inventory. With the new Chrome extension, you can import products straight from AliExpress with just a click, automatically adding them to your import list.
Once you’ve got your dropship products, you can customize everything, from images to descriptions and fulfillment options (like ePacket), before sending them to your Shopify dropshipping store.
If a product already exists in the Sell The Trend system, you can access valuable market research data, such as trends, wholesale prices, and marketing strategies from other successful dropshipping stores.
Additionally, you’ll have the flexibility to choose from multiple dropshipping suppliers, allowing you to compare shipping costs and check out their delivery times.
This ensures you can find reliable suppliers and keep your customers satisfied with excellent shipping options.
Watch our video on “Super Fast Dropshipping Product Import Method” to learn just how effortless it is to import products into your Shopify store.
What Are the Most Profitable Dropshipping Niches in 2026?
The most profitable dropshipping niches in 2026 are those that combine strong consumer demand, evergreen appeal, and low competition. These categories continue to dominate Shopify stores and show steady year-over-year growth.
- Pet supplies – Consistent demand with opportunities for personalized and viral products.
- Fashion and accessories – High margins and seasonal trends for men’s and women’s apparel.
- Health and beauty – Skincare, supplements, and self-care tools remain top sellers.
- Home and kitchen – Affordable products with high repeat purchase potential.
- Fitness and outdoors – Growing interest in health, sports, and adventure gear.
- Toys and baby products – Strong emotional buying motivation and frequent repurchases.
- Electronics and gadgets – Innovative, high-value items with strong social media visibility.
- Home improvement tools – DIY and renovation products are thriving with e-commerce audiences.
Choosing a niche with proven demand helps you reduce risk and target customers more effectively. Once you’ve selected your niche, the next step is deciding what kind of Shopify dropshipping store you want to create.
What Types of Shopify Dropshipping Stores Can You Create?
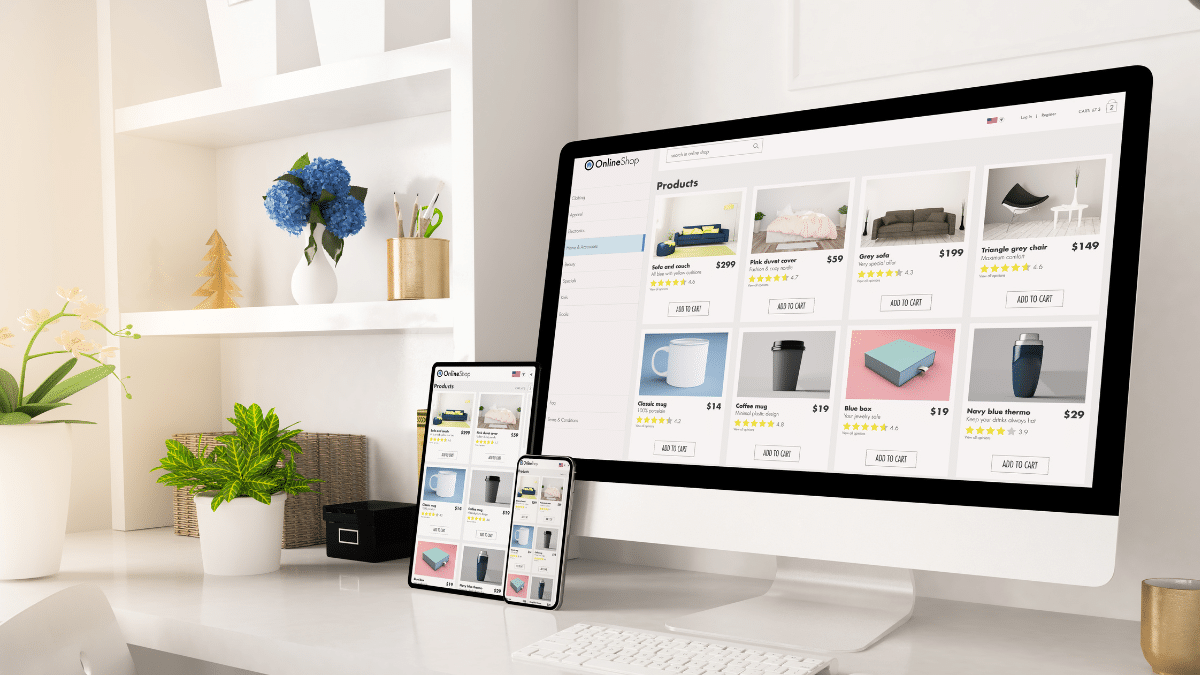
You can build three main types of Shopify dropshipping stores: a general store, a niche store, or a one-product store. Each has its own benefits depending on your goals, experience, and the time you want to invest in building your brand.
A general store offers a wide range of products, while a niche store focuses on a specific market or interest. A one-product store centers around a single trending item with high sales potential. Choosing the right store type helps you align your strategy, audience targeting, and marketing approach from the start.
General Store
If you’re a bit of a risk lover, you can create a general store, but be cautious, as you might work with multiple suppliers and keep track of out-of-stock inventories. Think of it as creating your own mini Walmart.
General stores can be complicated to set up, but they can be highly profitable once functional.
Some examples of general dropshipping stores created on Shopify include Brentwood General Store, RoofTop Fruit, Mohawk General Store, and Shaw’s General Store.
Niche Store
A niche store works well when you understand your target audience’s preferences. For instance, if you’re starting with women’s clothing, you could focus on specific items like skirts, tops, or silk dresses.
By narrowing down your offerings, your marketing efforts become more targeted, which can lead to higher profit margins.
Some good examples of niche stores on Shopify are: Be Activewear, Haus, Burga, and Warmly.
One-Product Shopify Store
This is most popular among dropshippers. You list only one highly trending product in your e-commerce store. Finding the right product can be complicated as your store’s profit depends solely on one product.
For inspiration, take a look at these one-product dropshipping stores: Cookie Chips, Fybelle, Wave Beam Pro, Kulala Land, and My State of Kind.
How To Find a Winning Product?
To find a winning dropshipping product, start by researching what’s trending across multiple platforms. Check AliExpress, Amazon, and CJdropshipping for products with high order counts, positive reviews, and steady sales growth. You can also use Google Trends to see whether interest in a product is rising or seasonal.
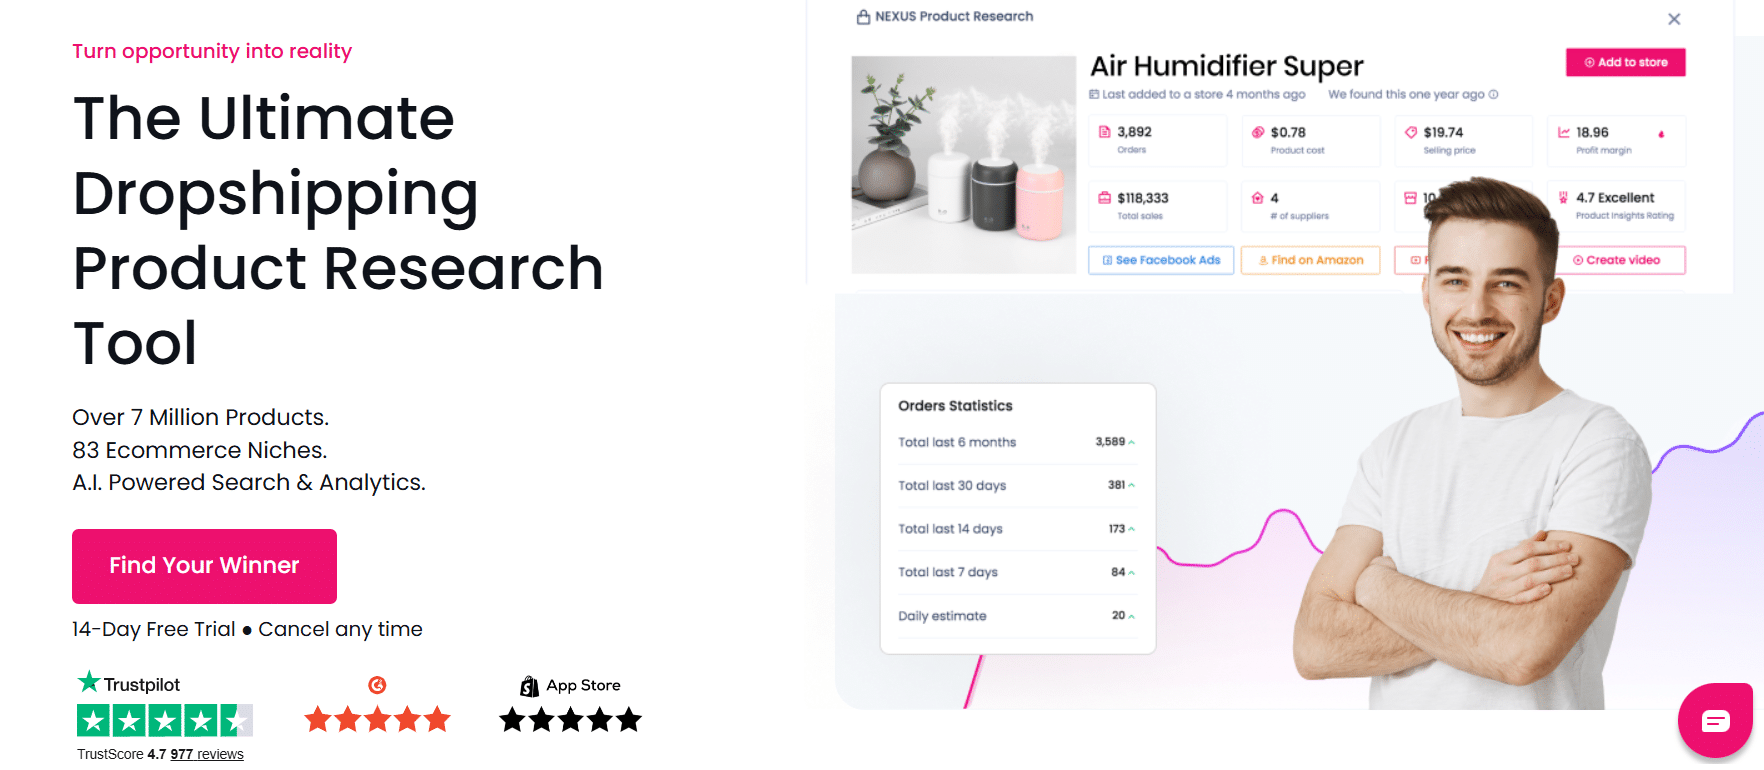
Manual research works, but it takes time. For faster, data-driven results, tools like Sell The Trend are the best option. It analyzes real-time sales data and social media trends to pinpoint products that are already performing well in the market, helping you make confident, profitable choices.
Manual Product Hunting Method
You can start by scrolling on social media platforms like TikTok, Pinterest, Instagram, eBay, and Facebook Marketplace to spot emerging trends. These platforms are great for discovering what’s currently popular, as viral content often reveals what people are interested in buying.
Once you’ve identified a trending product or category, use platforms like AliExpress to further research its potential. Check product popularity by reviewing order counts, ratings, and customer feedback. This helps you gauge both demand and satisfaction.
Don’t forget to use Google Trends to validate your product idea. It shows whether interest in a product is rising, stable, or declining over time, helping you avoid fads with short lifespans and focus on products with long-term potential.
You can also use tools like Semrush for keyword research. Focus on transactional keywords with a difficulty score between 0–30% to find profitable opportunities. Analyze competitors on search results (SERPs) for those terms, if large retailers dominate the top results, look for niches where fewer brands compete so your store can stand out.
Sell The Trend’s NEXUS Product Explorer

If you want to save time on product research, Sell The Trend’s NEXUS Product Explorer is one of the most effective tools for finding proven winners. It gathers real-time data from AliExpress, Amazon, and thousands of Shopify stores to reveal products that are trending, profitable, and ready to sell.
The NEXUS system analyzes over 26 data points, including sales history, engagement metrics, and supplier performance, to identify products with consistent demand and growth potential. With a single click, you can import them into your Shopify store, complete with descriptions, videos, and high-quality images.
Beyond research, Sell The Trend provides ready-to-launch Facebook ad templates, a competitor ad library, and automation tools that simplify pricing, inventory management, and order fulfillment. It’s an all-in-one solution that helps you make smarter product decisions and scale your Shopify dropshipping business faster.
Check out our video above to see how easily you can conduct product research using Sell The Trend.
How to Find Dropshipping Suppliers for Your Store?
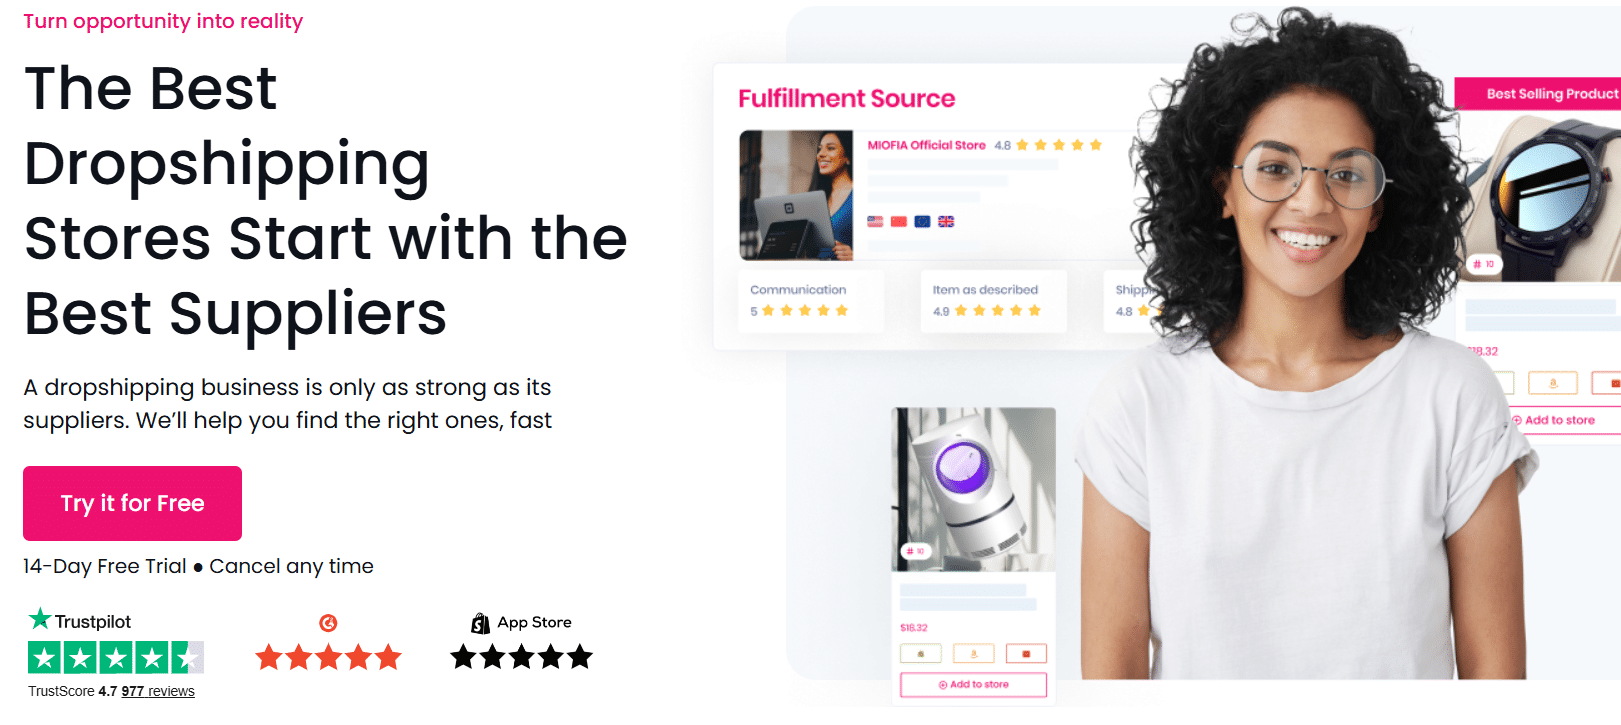
The best way to find reliable dropshipping suppliers is to look for those with consistent stock levels, fast shipping, and positive customer reviews. You can start by exploring supplier directories such as AliExpress, CJdropshipping, and Alibaba, where you’ll find thousands of verified sellers across every niche.
For a faster and safer option, Sell The Trend offers a curated list of reputable suppliers that are already vetted for quality, pricing, and fulfillment speed. This helps you avoid unreliable sources and focus on products that ship quickly and maintain customer satisfaction.
Working with dependable suppliers ensures your Shopify store delivers quality products on time, helping you build trust and earn repeat customers.
Shipping Times

Look for dropshipping suppliers that offer the fastest shipping. Customers HATE waiting days after placing an order to receive their package.
Inventory Level

Running out of stock can damage your store’s reputation and discourage customers from buying again. Therefore, always choose a dropshipping supplier who maintains a consistent stock level. If you’re using a Shopify dropshipping app like Sell The Trend, keep track of notifications for inventory changes.
Shipping Cost

Select a supplier with reasonable shipping rates. You don’t want a dropshipping supplier who eats half your profit margin.
Communication

This is the deal-breaker. Stay away from a supplier who is unresponsive and difficult to reach, as a dropshipping store requires timely communication related to orders, stock levels, and refunds.
Reviews and Testimonials
Check out what other businesses say about a particular supplier. Their feedback can give you some helpful insights for making the right choice for your online store.
Returns and Refund Policy
Suppliers often lack a return policy, so it’s crucial to partner with a dropshipping supplier that guarantees product quality and offers refunds or exchanges for damaged goods.
Top Dropshipping Suppliers for Shopify
You can find a whole list of thousands of dropshipping suppliers across different niches in the following directories.
AliExpress

AliExpress is a favorite among dropshippers, offering thousands of products in almost every niche. You can find numerous dropshipping suppliers on their website. This gives you a broader selection to choose from, making it easier to find the right product for your Shopify dropshipping store.
CJdropshipping

Similar to AliExpress, it has a vast collection of products offered by different dropshipping suppliers. But what sets CJdropshipping apart is its faster shipping options, as they have warehouses in multiple countries, including the U.S. and Europe.
Dropshipping Supplier Selection: Red Flags to Consider
When you’re on the hunt for dropshipping suppliers, watch out for these signs that may signal trouble for your online store.
- Lack of transparency and poor communication
- High minimum order quantities
- No product samples are available.
- Negative reviews
- Unprofessional website
- Too-good-to-be-true wholesale prices
- Limited contact information
- Be hasty in starting a contract without letting you review the terms properly.
How to Promote Your Shopify Dropshipping Store?
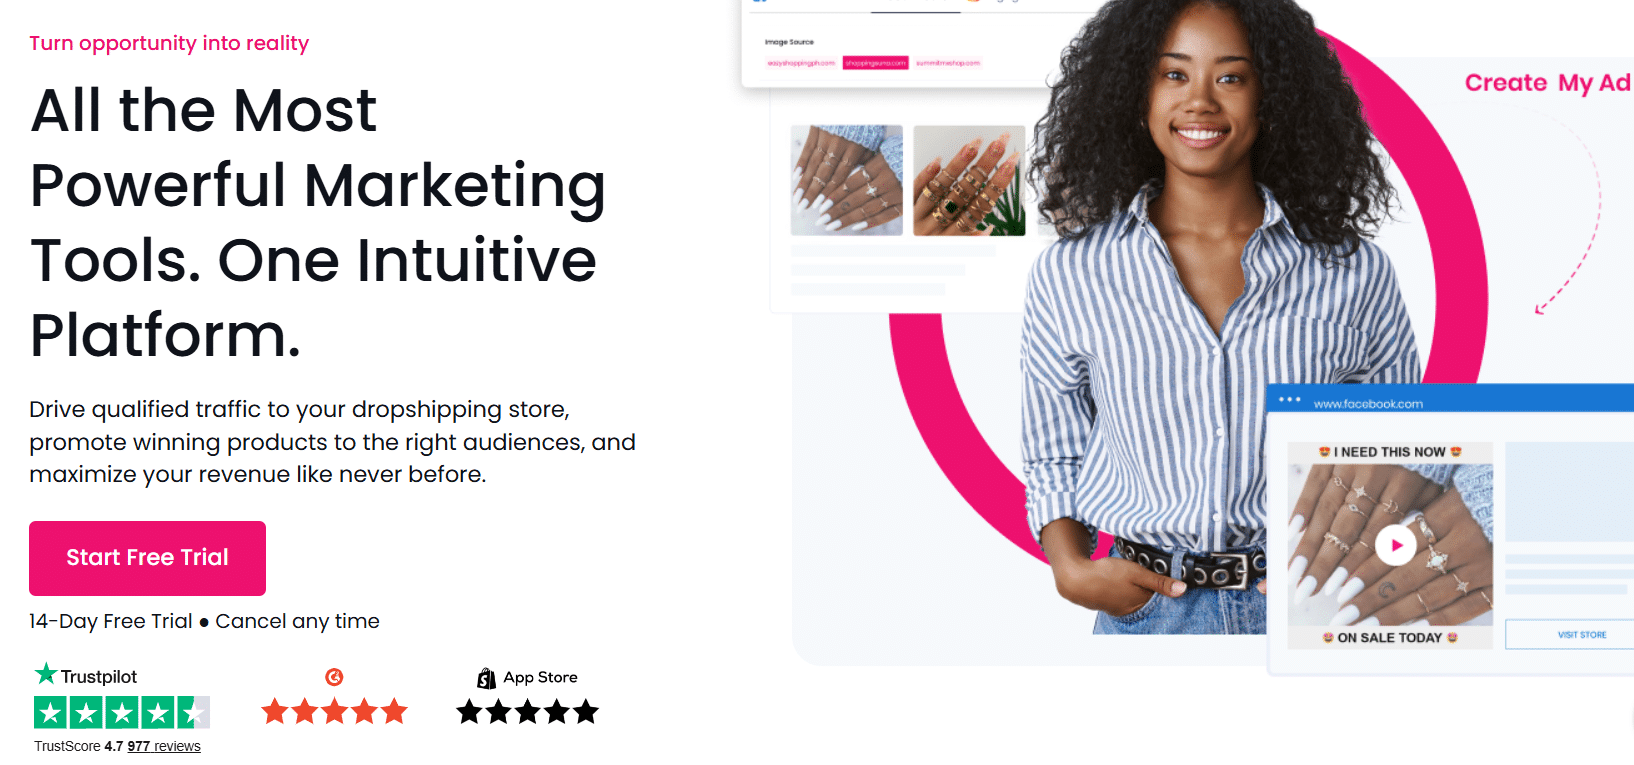
You can promote your Shopify dropshipping store by combining social media marketing, content creation, email campaigns, and paid ads. Focus on building awareness, driving traffic, and turning visitors into loyal customers.
Let’s break down the best ways to market your store.
Put Social Media to Use

Focus on the platforms where your audience hangs out the most. Share content that’s valuable, entertaining, or educational. Don’t be shy, highlight your product features and explain how they’ve helped you solve specific problems.
This way, you’ll attract more viewers to check out your product. Expand your reach with relevant hashtags and use insights to adjust your strategies for boosting traffic to your Shopify dropshipping store.
Utilize SMS and Email Marketing

Email and SMS marketing are cost-effective ways to communicate directly with your customers. Here’s how you can make the most of it:
- Use sign-up forms to gather visitors’ contact information.
- Customize your messages according to demographics and behavior.
- Don’t just stop at names; recommend products based on their previous purchases.
Start a Blog

Another way to level up your Shopify dropshipping store in SERPs is to create a blog section on your website. Create guides and tutorials that answer customer questions while showcasing your products with detailed reviews.
Paid Advertisement

If you’re not on a tight budget, consider investing in paid ads. Unlike the organic methods discussed above, which can take time to gain traction, paid ads can give your e-commerce business immediate visibility.
How to Scale Your Dropshipping Business?
The dropshipping business model scales best by focusing on automating operations, testing new products, and improving customer experience. Use tools like Sell The Trend to streamline fulfillment and discover new winning items while maintaining quality service and fast delivery.
Here’s how to take your ecommerce store to the next level.
Using Shopify Dropshipping Automation Software
By using the dropshipping tool Sell The Trend, you can effectively automate your Shopify dropshipping business and simplify your daily operations.
These tools offer features like product research tools, automated order fulfillment, and inventory management, allowing you to focus on your product catalog, test new products, and scale your business efficiently.
Working with Multiple Suppliers
Teaming up with multiple suppliers lets you offer more products and grow your business. With dropshipping apps like Sell The Trend, you can easily find trustworthy suppliers and multiple fulfillment centers, making it easier to meet customer needs.
Providing Excellent Customer Service
To build customer loyalty, increase retention, and create a positive brand reputation, you must provide excellent customer service. When customers feel valued and supported, they are more likely to leave positive reviews, enhancing overall customer satisfaction.
Shopify Dropshipping FAQs
1. Does dropshipping work on Shopify?
Yes, dropshipping works very well on Shopify. The platform is designed for the dropshipping business model, allowing you to sell products without keeping inventory. You can easily connect suppliers, automate fulfillment, and manage everything from one ecommerce store. Apps from the Shopify App Store, such as Sell The Trend, make it even easier to find winning products and build a profitable business.
2. How much does Shopify take from a $100 sale?
Shopify’s transaction fees depend on your pricing plan and payment method. On average, the platform takes between 2.4% and 2.9% plus $0.30 per transaction when using Shopify Payments. That means you’ll pay roughly $2.70 to $3.20 on a $100 sale. These rates make dropshipping on Shopify one of the most affordable ways to start an online business with full control over your ecommerce store.
3. What is not allowed on Shopify?
Shopify prohibits selling illegal, counterfeit, or unsafe items. Products such as weapons, tobacco, certain health supplements, and adult content are restricted. It’s important to review Shopify’s Acceptable Use Policy before launching your ecommerce store to avoid suspension or account termination.
4. Who is the richest Shopify dropshipper?
While exact figures vary, several well-known entrepreneurs have earned millions using Shopify. Among them, Sebastian Ghiorghiu and Tan Choudhury are frequently mentioned as top earners in the dropshipping space. Their success shows how profitable the model can be when you combine the right marketing strategy with a reliable Shopify App Store integration and consistent branding.
5. Is dropshipping on Shopify worth it?
Yes, Shopify dropshipping is a perfect choice for starting an online business. Compared to other platforms, Shopify features many impressive tools to help you scale your business. But remember, your results will also depend highly on product selection, marketing, and customer service.
6. Can I start Shopify dropshipping with $100?
Yes, but it will be a bit challenging. The basic Shopify plan costs around $19 monthly, but it charges $1 for the first 3 months, giving you enough time to set up and market your store. You can use organic marketing methods to cut costs.
7. How much does Shopify dropshipping cost?
Costs vary, with Shopify subscriptions ranging from $19 to $299 per month. Additional expenses include apps, themes, and marketing. Overall, starting costs range from a few hundred to a couple of thousand dollars, depending on your business size.
Conclusion
In conclusion, Shopify offers a flexible and accessible solution to launch your dropshipping business. With minimal starting costs and the advantage of not having to manage inventory, it’s an attractive option for aspiring entrepreneurs.
By implementing the right strategies and utilizing Shopify dropshipping apps like Sell The Trend, you can smoothly handle the challenges of a dropshipping business and create a profitable store in no time.


